If buying a Gaming Smartphone, a good camera would be the last thing a user wants. Asus ROG Phone series has made the reputation for being a specifications king and absolutely crushing it on the performance side. But when it comes to the camera, it is very average. So, if you want to enhance the camera performance on the ROG Phone 3, then try installing GCam on it. Here is the Best GCam APK for Asus Phone 3.
Thanks to the developers, GCam is ported and available as an APK to install in any Android device, provided that, camera2api is enabled in that Android device. GCam uses the camera2api to get better control over the smartphone’s camera sensor and then apply its amazing Image processing algorithms to produce Sharp, detailed Images with Good dynamic range. Night sight, a feature introduced in Google camera v7, captures great photos in low light and hence, improves any Android’s device low light performance by a big margin.
Speaking of the Asus ROG Phone 3, it is powered by the Snapdragon 865+ Chipset along with 8-16 GB of RAM. It is embraced by a 6.59 inches AMOLED panel on the front that runs on a Full HD resolution with an amazing 144 Hz refresh rate. You get up to 512 GB of ROM on the top variant. For the Camera, there is a triple camera setup on the back that consists of a primary 64 MP lens accompanied by secondary Ultrawide and a Macro sensor. It is fueled by a big 6000 mAh battery with 30W fast charging support.
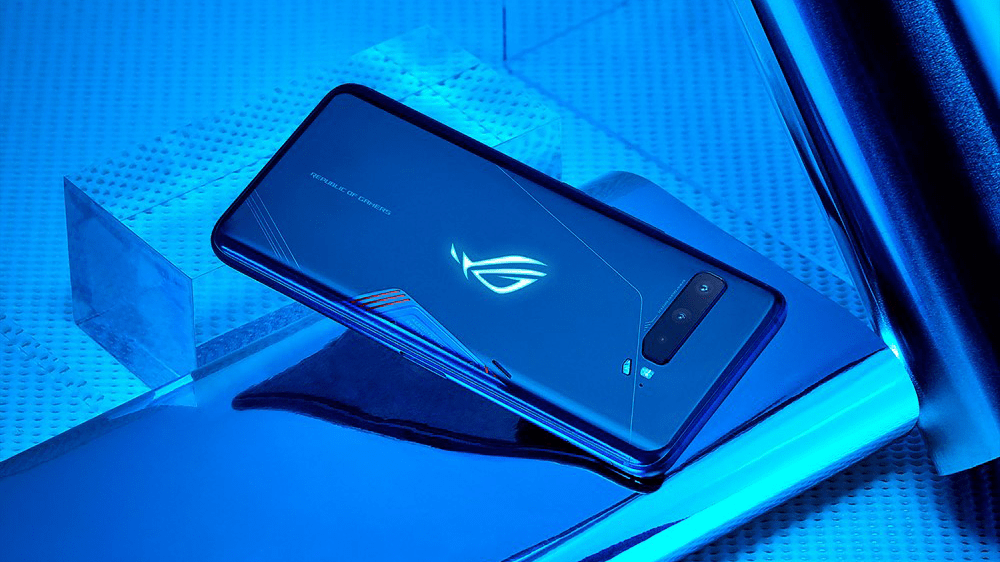
Table of Contents
Download GCam APK for Asus ROG Phone 3
- This post will be updated with a new GCam release if that works better than the previous one. Make sure to Bookmark this post
- No Config File means GCam is pre-optimized.
| GCam Version | Download Link | XML File (Config) |
| GCam V7.3 by Wichaya | Download | Download |
- Credit for GCam recommendation: XDA
How to Install GCam on Asus ROG Phone 3
You need:
- GCam APK
- That’s it, Camera2api is already enabled in OnePlus Nord, Install the GCam apk and use it.
To Apply the XML settings for GCam (If Given), Follow this Process:
- Go to File Manager and create a new folder in the root of your Internal Storage as:
“Internal Storage/Gcam/Configs7” - Copy and paste the XML files to “Configs7” sub-folder
- Open GCam and double click on the empty space from the right or left of the shutter button
- Your XMLs should show up there, select one desired XML and click on “Restore”. If GCam restarts, it means that the config file has been loaded
Why use GCam?
HDR+ | Great Dynamic range
Google’s HDR+ is based on Image fusion technology which takes different images and then merges it into a single but more detailed image. It improves dynamic range and also gives better low light shots.
Portrait Mode
Portrait mode is now fairly common in every smartphone, but GCam clearly got the upper hand in Edge detection and natural blur.
Night Sight
The night is different than HDR+ in many ways. HDR+ gives better dynamic range, on the other hand, Night Sight gives better low light shots by lighting them up and removing noise. So far, Night Sight is the most powerful ability of GCam and is far better than Mi’s Camera.
Astrophotography Mode
It simply taking pictures of Night sky full of the star. It is a feature within Night mode.
Other Features
- Timelapse
- Motion Photos
- Lens Blur
- Photo Sphere
- Photobooth
- Motion tracking
